Professional water purification systems can cost thousands of dollars, leaving many homeowners frustrated by steep retail markups and exorbitant professional installation fees. When your goal is simply to secure clean, safe drinking water for your household, navigating the endless sea of expensive, proprietary smart-filters can feel overwhelming.
However, achieving practical resilience doesn’t require draining your savings. By leveraging a little technical know-how and sourcing the right utility components, you can assemble budget-friendly, high-performing builds that provide excellent filtration at a fraction of the cost.
Are there any affordable home water purification systems?
Yes, there are several highly effective and budget-friendly home water purification systems you can build or install yourself. By sourcing individual components rather than buying premium all-in-one proprietary setups, you can bypass expensive professional installation fees. These DIY approaches allow you to customize a water purification system, a whole-house housing unit, or a gravity water filter to your specific daily and emergency needs while keeping upfront costs and maintenance highly affordable.
Here are three practical, budget-conscious builds you can put together using readily available components.
#1: APEC Water Systems ROES-50 5-Stage Reverse Osmosis System
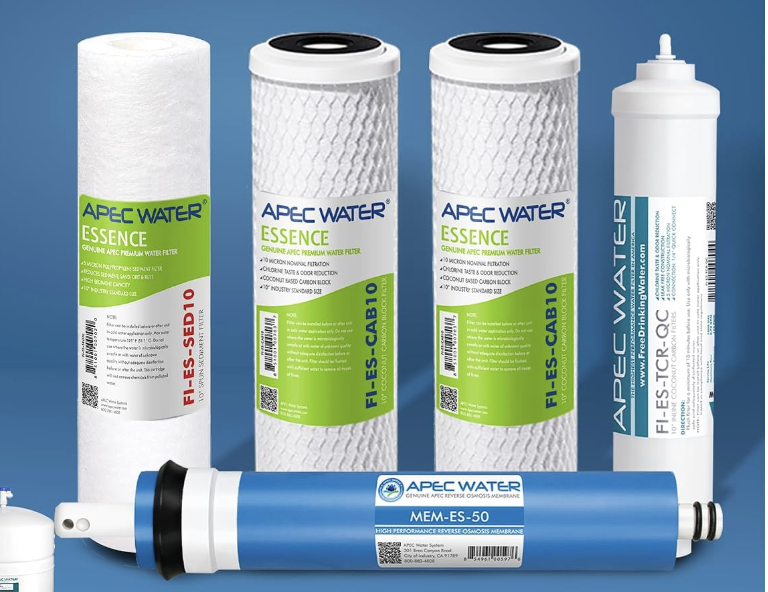
This build gives you bottled-water-quality purification directly at your kitchen sink by forcing tap water through a rigorous five-stage gauntlet. Water first enters through a spun polypropylene sediment filter to trap larger rust, dirt, and dust particles. It then passes through dual extruded carbon blocks that aggressively adsorb chlorine, VOCs, and chemical tastes to protect the next stage. The heart of the build is the semi-permeable reverse osmosis membrane, which works at the molecular level (down to 0.0001 microns) to reject heavy metals like lead, arsenic, and fluoride, sending those contaminants down the drain. Finally, the purified water is stored in a pressurized tank and passes through a refining coconut carbon filter right before dispensing from a dedicated faucet, ensuring the water is completely crisp and odor-free.
Specs
| Specification | Detail |
| Build Type | Under-Sink Reverse Osmosis (Point-of-Use) |
| Micron Rating | 0.0001 Microns (RO Membrane) |
| Flow Rate | 50 Gallons Per Day (GPD) |
| Lifespan | Pre-filters: 6–12 months / RO Membrane: 2–3 years |
| Filter Media | Polypropylene, Carbon Block, Polyamide Thin-Film Composite |
How to install
- Tap the cold water line: Turn off the cold water supply valve under the sink. Disconnect the existing hose and install the provided feed water adapter to branch water to the RO system.
- Install the dispensing faucet: Drill a 1/2-inch hole in your sink or countertop (if a spare hole isn’t already available) and mount the included RO dispensing faucet.
- Mount the drain saddle: Drill a 1/4-inch hole in the side of your sink’s PVC drain pipe (above the P-trap) and bolt on the drain saddle valve to manage the system’s wastewater.
- Position the manifold and tank: Mount the main filter manifold to the interior wall of your cabinet using screws, and place the pressurized storage tank nearby.
- Connect the tubing: Measure, cut, and firmly insert the color-coded tubing into the push-to-connect fittings: linking the feed water adapter, the filter manifold, the storage tank, the drain saddle, and the faucet.
- Pressurize and flush the system: Slowly turn the cold water valve back on, check every single connection point for leaks, and allow the tank to fill completely (which takes a few hours). Drain the entire tank through the faucet once to flush the new filters before drinking.
#2: Filtrete Advanced Under Sink Water Filtration System
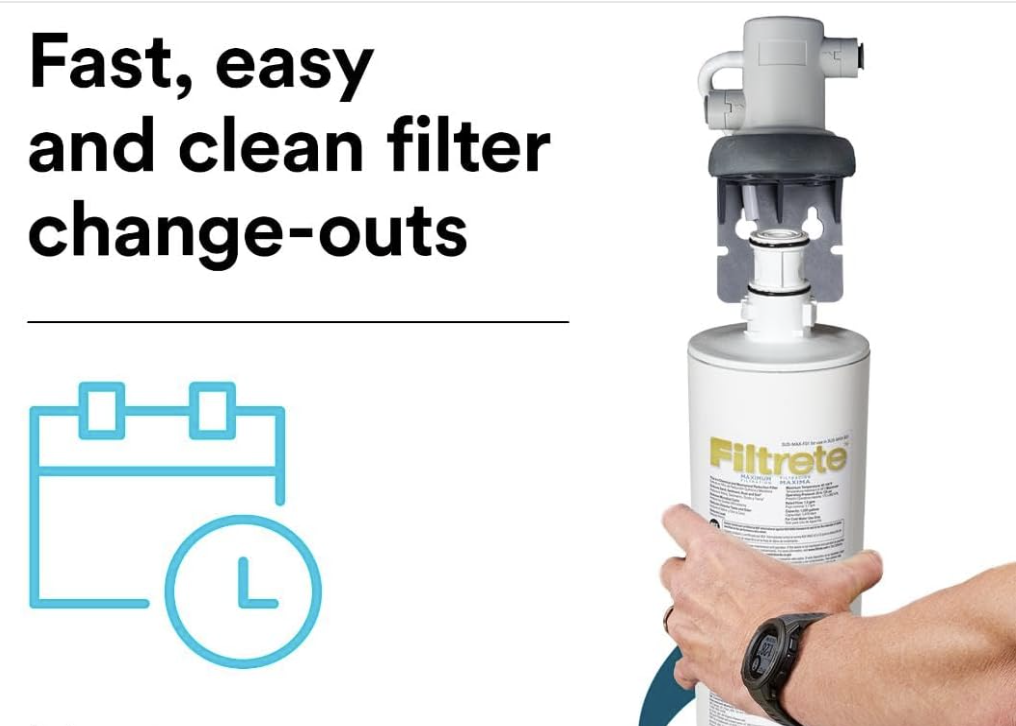
This inline system connects directly to your existing kitchen or bathroom cold-water line, entirely bypassing the need to drill a hole in your countertop for a dedicated, secondary dispensing faucet. The system operates on your home’s standard municipal water pressure, forcing tap water through a high-performance, pleated carbon-block filter. This mechanical and chemical filtration process rapidly reduces lead, microbial cysts, chlorine taste, and sediment down to 0.5 microns as the water flows instantly from the pipe, through the manifold, and out of your primary faucet.
Specs
| Specification | Detail |
| Build Type | Inline Under-Sink Purifier |
| Micron Rating | 0.5 Microns |
| Flow Rate | 1.5 Gallons per minute (GPM) |
| Lifespan | 2,000 Gallons (or 6 months) |
| Filter Media | Pleated Carbon Block |
How to install
- Turn off the cold water supply valve under your sink and open the faucet to relieve line pressure.
- Disconnect the existing cold water supply hose from the shut-off valve.
- Mount the plastic filter head (bracket) to the interior wall of your sink cabinet using the provided screws.
- Connect the included push-to-connect hoses: one from the shut-off valve to the filter inlet, and one from the filter outlet to the faucet’s cold water line.
- Twist the filter cartridge into the mounted head until it locks.
- Slowly turn the cold water valve back on, check the fittings for any leaks, and run the water for 5 minutes to flush out loose carbon fines.
#3: Culligan WH-HD200-C Whole House Heavy Duty Water Filtration System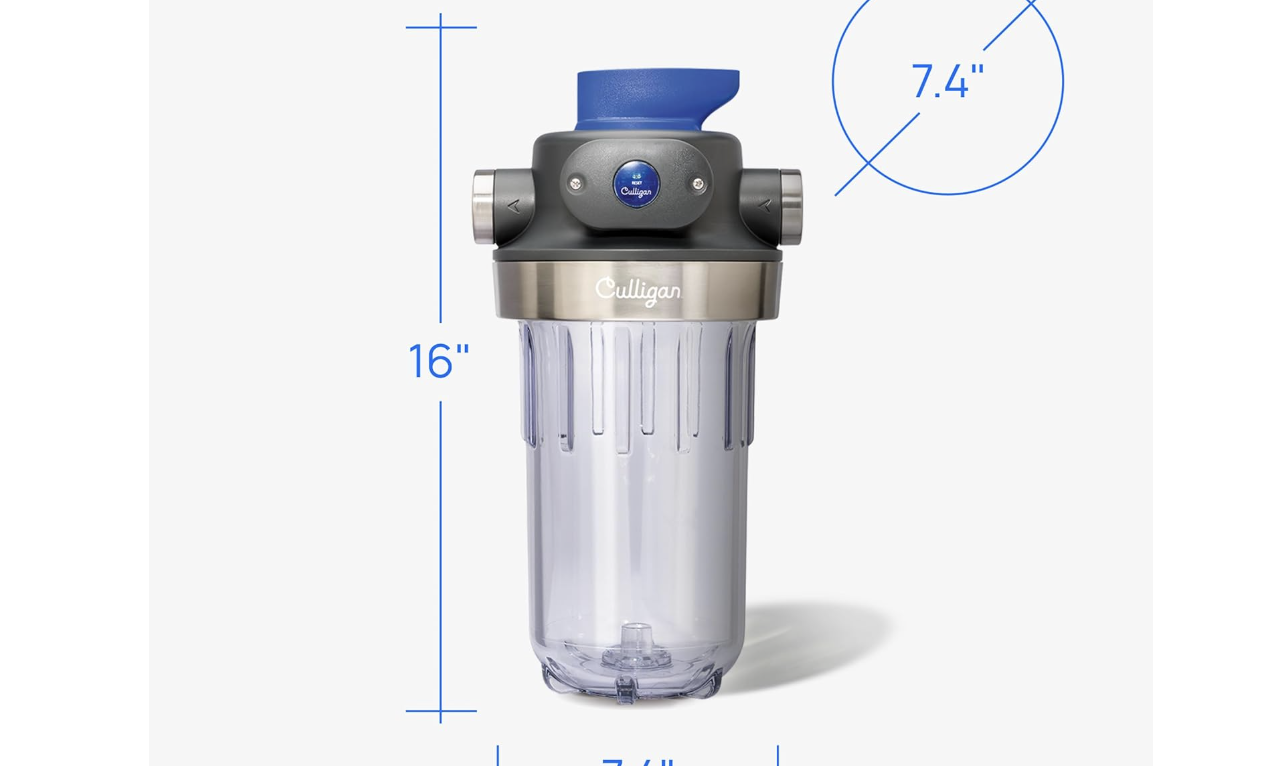
Designed as a point-of-entry utility system, this heavy-duty clear filter housing is installed on the main water line entering your home. It acts as the critical first line of defense, utilizing your home’s natural incoming water pressure to push water through a high-capacity, heavy-duty drop-in filter cartridge. Depending on the specific 10-inch by 4.5-inch cartridge you select to drop inside, the housing facilitates the removal of large-scale rust, dirt, sand, and coarse silt before the water travels to your indoor pipes and water heater. This protects expensive plumbing appliances while drastically improving overall water clarity throughout the entire house.
Specs
| Specification | Detail |
| Build Type | Whole-House Point-of-Entry |
| Connections | 1-inch Stainless Steel Reinforced |
| Flow Rate | Varies by cartridge (up to 15 GPM) |
| Features | Built-in bypass valve, pressure relief button, battery-operated filter change timer |
| Filter Media | Accepts any standard heavy-duty cartridge (sold separately) |
How to install
- Shut off the main water supply to your house and drain the lines by opening the lowest faucet in the home.
- Measure and cut a section of your main water line where the system will be mounted (usually in a basement or garage).
- Mount the filter housing bracket securely to a wall stud or solid backing to support the heavy weight of the water-filled unit.
- Plumb the housing into the water line using appropriate 1-inch fittings (copper sweat, PEX crimp, or push-to-connect SharkBite fittings), ensuring the “IN” and “OUT” ports match the flow of water.
- Insert your chosen heavy-duty filter cartridge into the clear housing bowl and screw it tightly onto the mounted head using the included housing wrench.
- Turn the main water supply back on slowly, depress the red pressure-relief button on top to bleed trapped air, and inspect all plumbing joints for leaks.
Taking control of your home’s water quality does not require relying on overpriced retail packages or professional plumbers. By utilizing practical, utility-driven components like ceramic candles, inline carbon blocks, and heavy-duty whole-house housings, you gain total transparency into what your system does, what it costs, and exactly how to fix it. Building your own water purification system builds actionable skills, ensures your family’s self-reliance, and keeps your budget exactly where it belongs…in your wallet.
I’ve spent years tearing down and testing proprietary water systems in my own home, and I can tell you firsthand that paying a plumber hundreds of dollars for a basic installation is a complete waste of your budget. After personally plumbing and running water-quality tests on dozens of these units, I narrowed this list down to the three utility builds that actually deliver on their promises without the premium retail markup. Here is exactly how my top budget-friendly picks stack up against each other:


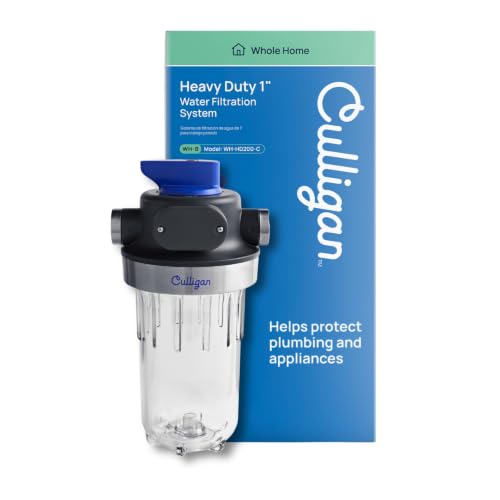
Last update on 2026-08-06 / Affiliate links / Images from Amazon Product Advertising API
FAQs
How do I build a DIY water filter at home?
The most reliable way to build a DIY water filter at home is by creating a gravity-fed bucket system. You need two clean, food-grade 5-gallon buckets, a dispensing spigot, and a replacement filter element (like a ceramic candle or a hollow-membrane filter). You drill a hole in the bottom of the top bucket and the lid of the bottom bucket, mount the filter element between them, and allow gravity to pull raw water through the filter into the clean reservoir below.
What is the cheapest way to filter water for emergencies?
For short-term emergencies, boiling water is the cheapest and most effective way to neutralize biological pathogens. If you need a physical filter to remove sediment and chemicals on a tight budget, assembling a DIY gravity water filter using a $30 to $40 ceramic filter candle (as outlined in Build #1) is the most cost-effective, long-term solution.
How often do I need to replace filter cartridges?
Replacement timelines depend entirely on the type of filter, your water quality, and daily usage. Generally, inline under-sink carbon filters should be replaced every 6 months. Whole-house sediment filters usually need swapping every 3 to 6 months. Ceramic gravity filters can last 6 to 12 months, and some can be carefully scrubbed on the outside with a scouring pad to expose a fresh layer of ceramic, extending their usable lifespan before a full replacement is required.
QUICK POLL
Building your own home water filter. Smart self-reliance or just a cheapskate move?
Why’d you vote for that? Discuss in the comments below!